KBAnywhere could bring the most out of your knowledge base if you integrate it with AI. In the following help article, I am going to walk you through the process of connecting your KBAnywhere extension to OpenAI and enabling your knowledge base for AI.
Be careful! Enabling the AI feature with your OpenAI account will incur additional cost in your OpenAI account. Be careful when using an existing account or when topping up a lot of money. We recommend starting by adding a small amount to your OpenAI account like $20 and monitor the associated cost as you go. Enabling AI on large knowledge bases might be costly.
Since KBAnywhere is generally provided for free, it is up to you to integrate with and pay for the third-party AI service as OpenAI.
Get an API token
The first step would be to register or log in into your OpenAI Platform account. On the platform dashboard screen, click on the "Log in" or "Sign up" button that are available in the top bar:

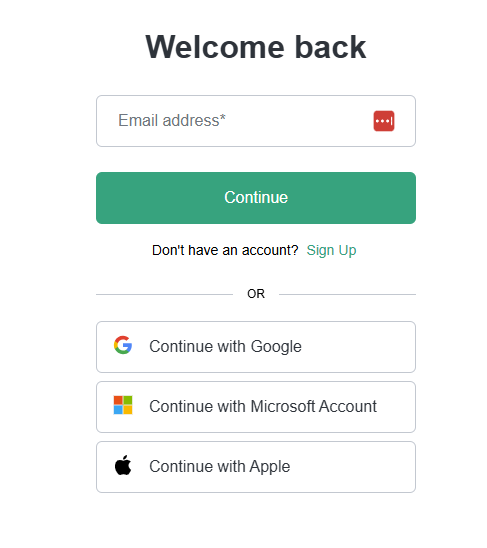
If you already have an account and would like to use it with the extension, simply log in. Otherwise, create a new account to use with your KBAnywhere extension.
Once you have signed in into the platform, choose your organization and a project. We recommend, creating a special Organization/Project for using with your knowledge base and topping up a small amount to your credit balance so you can keep track of the costs.
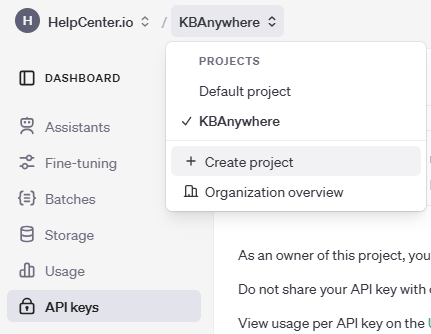
Once you are happy with the Organization/Project pair, go to the API keys section of your OpenAI Platform dashboard and click on the "Create new secret key" button usually displayed in the top right corner of the API keys page.
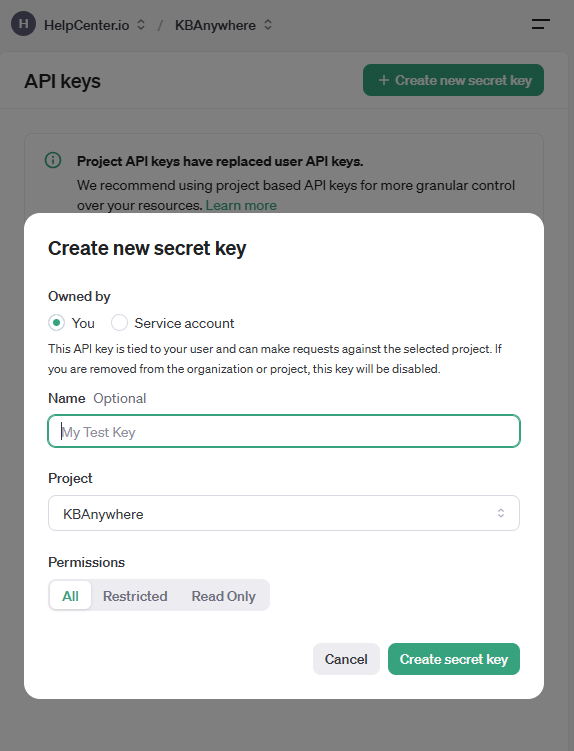
Type a name and click on the "Create secret key" button to generate your key which we are later going to configure inside the KBAnywhere extension. Once you click on the button, you will see another modal window with your key, copy it and paste it somewhere save as we are going to need it on the next step.
Configure your OpenAI API Key in KBAnywhere
Open the KBAnywhere extension and make sure you have already connected your knowledge base. Click on the source you would like to configure AI for and then click on the small settings icon in the top right corner of the extension header:

This would show you the Settings screen which should look like this:
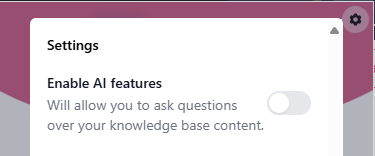
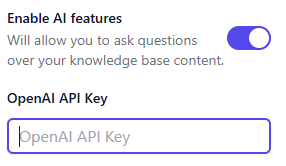
Toggle the "Enable AI features" on and in the text field that will get displayed, enter the OpenAI API key that we generated in the previous step:
Close the settings using the "Close" button at the bottom of the setting screen. Changes are automatically saved and the extension will start indexing your content so it could be used with AI to answer your questions or even write complete emails inside Gmail.